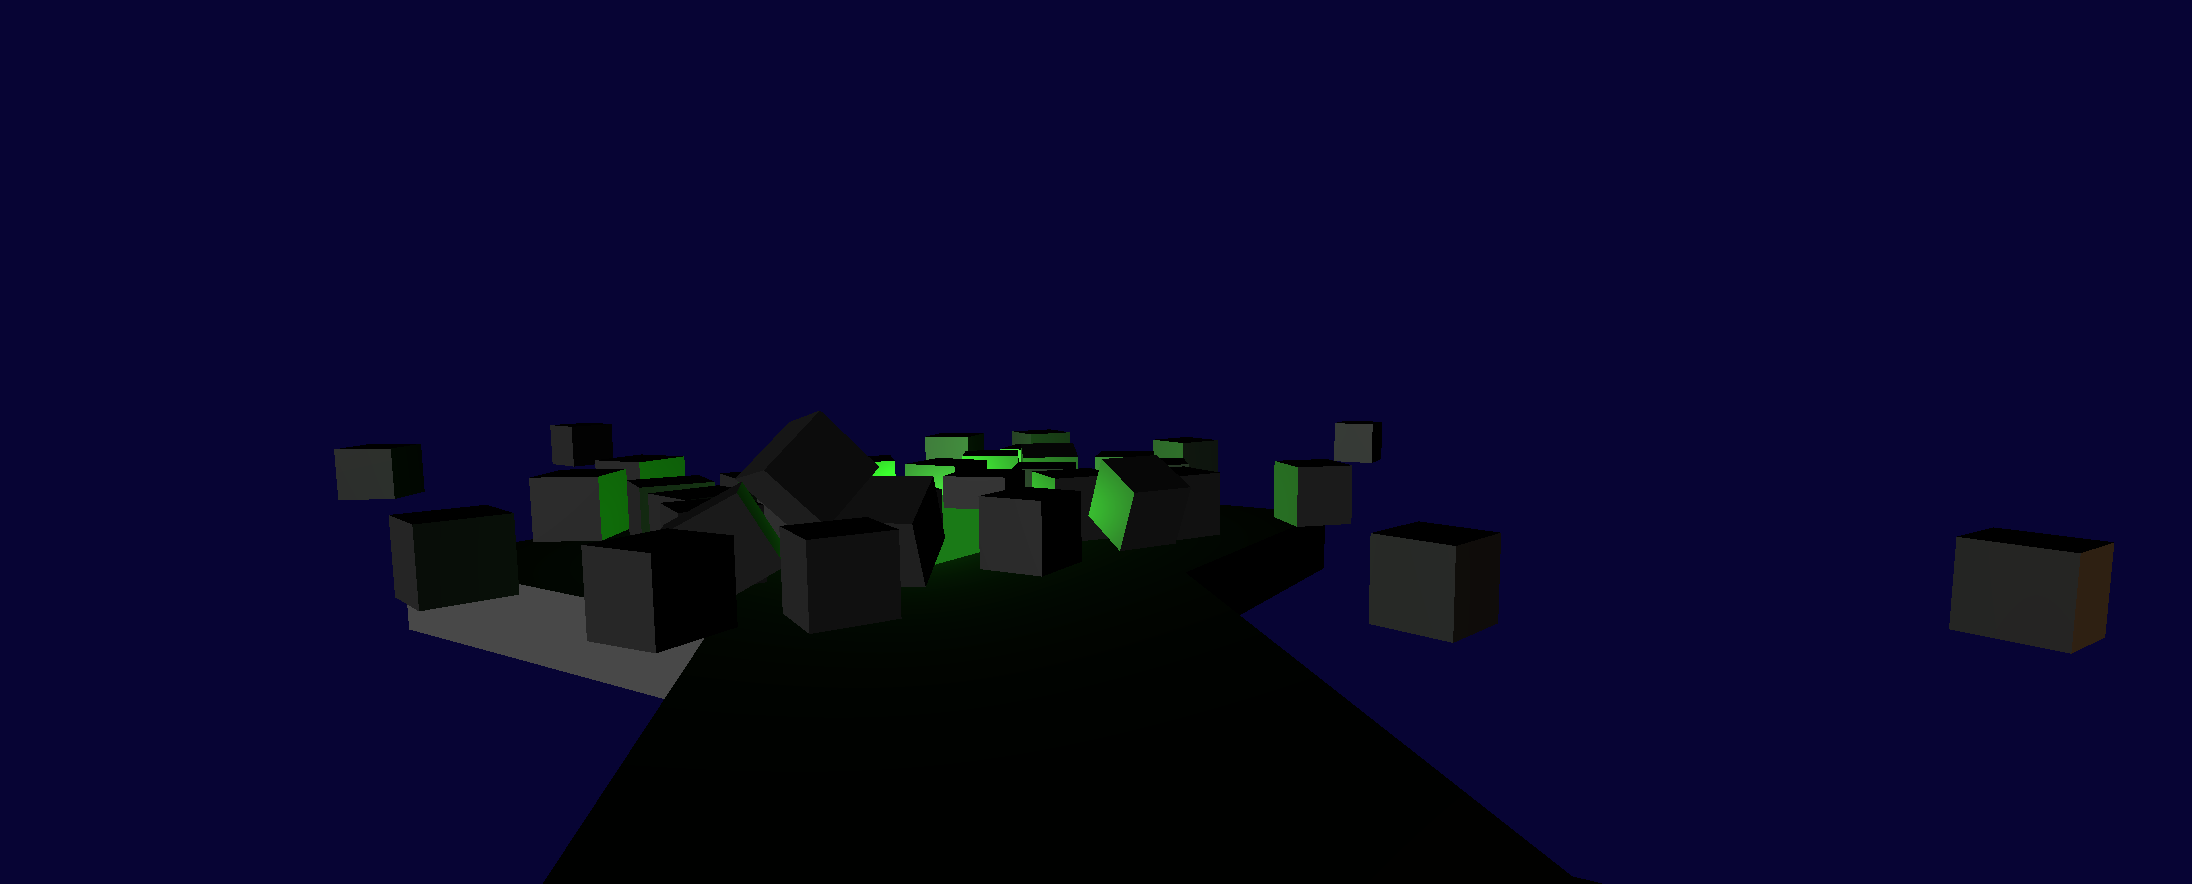
The result of many simulated cubes falling on to a flat plane.
Skeleton Program (part one) Hosted, Download, Docs
Skeleton Program (part two) Hosted, Download, Docs
I've generalized the physics integration to allow for an indefinite amount of static and detector objects. There is still a single dynamic object for the player, but these changes make it much easier to implement an indefinite amount of dynamic objects as well. The program uses a constant upper bound for objects to facilitate moving things across threads. I've added an automatic error if the participant surpasses the constant amount of memory I've allocated for them.
Next I would like to pass the detection notice to the main thread. It is done. Detection is passed to the main program which may program different outcomes for each detector. The demo detector changes the background color.
Current priorities:
What I have done today
Current priorities:
Generalized physics integration is complete. Now player can
The inclusion of physics allows for basic gameplay elements such as difficult to reach places and navigation puzzles. Here is the latest TODO list, in order of most to least priority.
TODO
The code is exceptionally messy because I was quickly prototyping and using some tools that are new to me. When I write code for educational reasons I like for to be exceptionally neat to make reading it easy and enjoyable. Consequently, code clean up will be a non-trivial task.
This program will be organized into sections. A typical game program may consist of two sections SETUP and MAINLOOP. This program is a bit more complex so there will likely be additional sections. Goals for clean up:
I've started a written supplement for the workshop(s) that also functions as a lesson plan.
This step is obviously important, but it must be done at the end.
Cannon.js physics initial integration is done.
The result of many simulated cubes falling on to a flat plane.
The next step for physics is dynamically loading the Gltf scene to Cannon and creating a bidirectional link between the FP controller and a Cannon body. This would make it possible to fall off the edge of the world or be stopped by walls (once they are added).
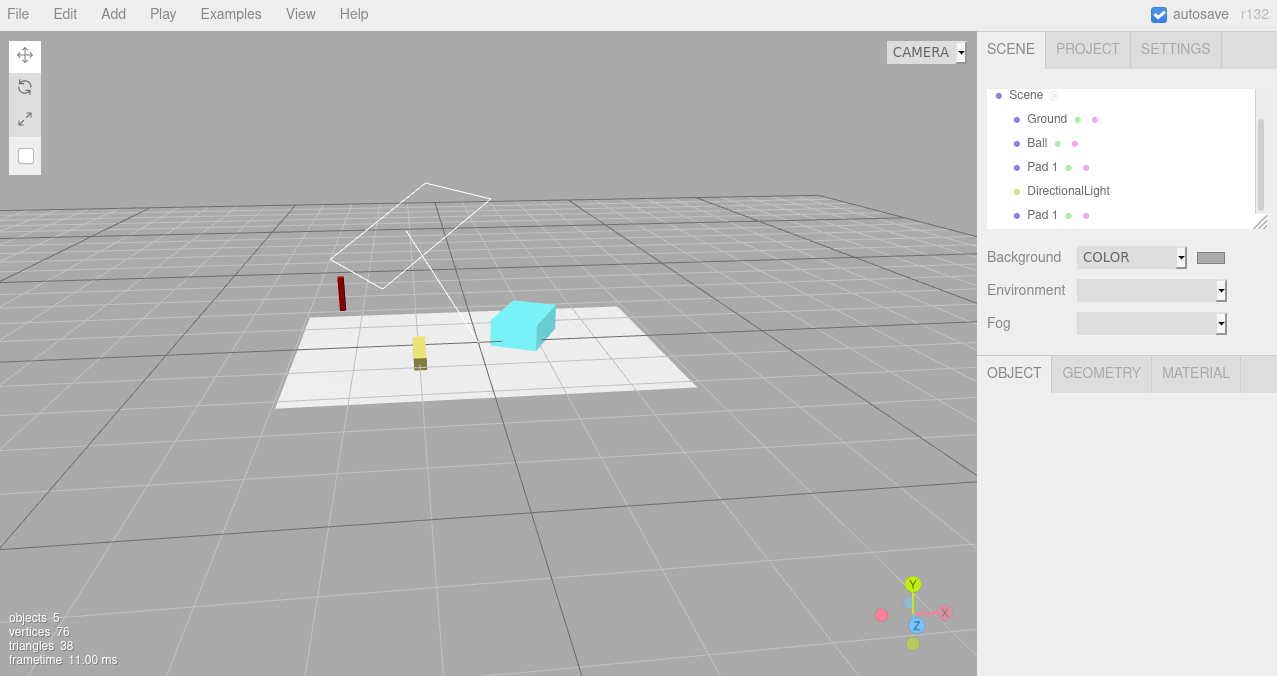
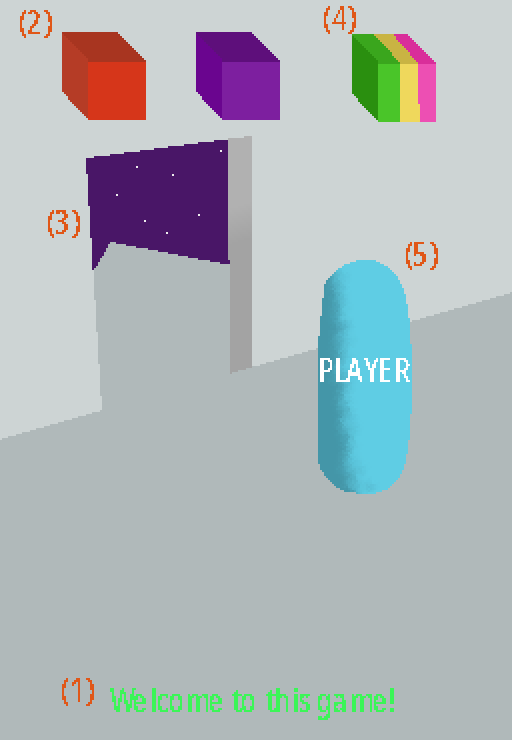
Today I implemented a better player controller, using PointerLockController as a starting point, and I used demos controls/pointerlock and geometry/terrain for reference. I also took the time to design a more appealing demo scene.
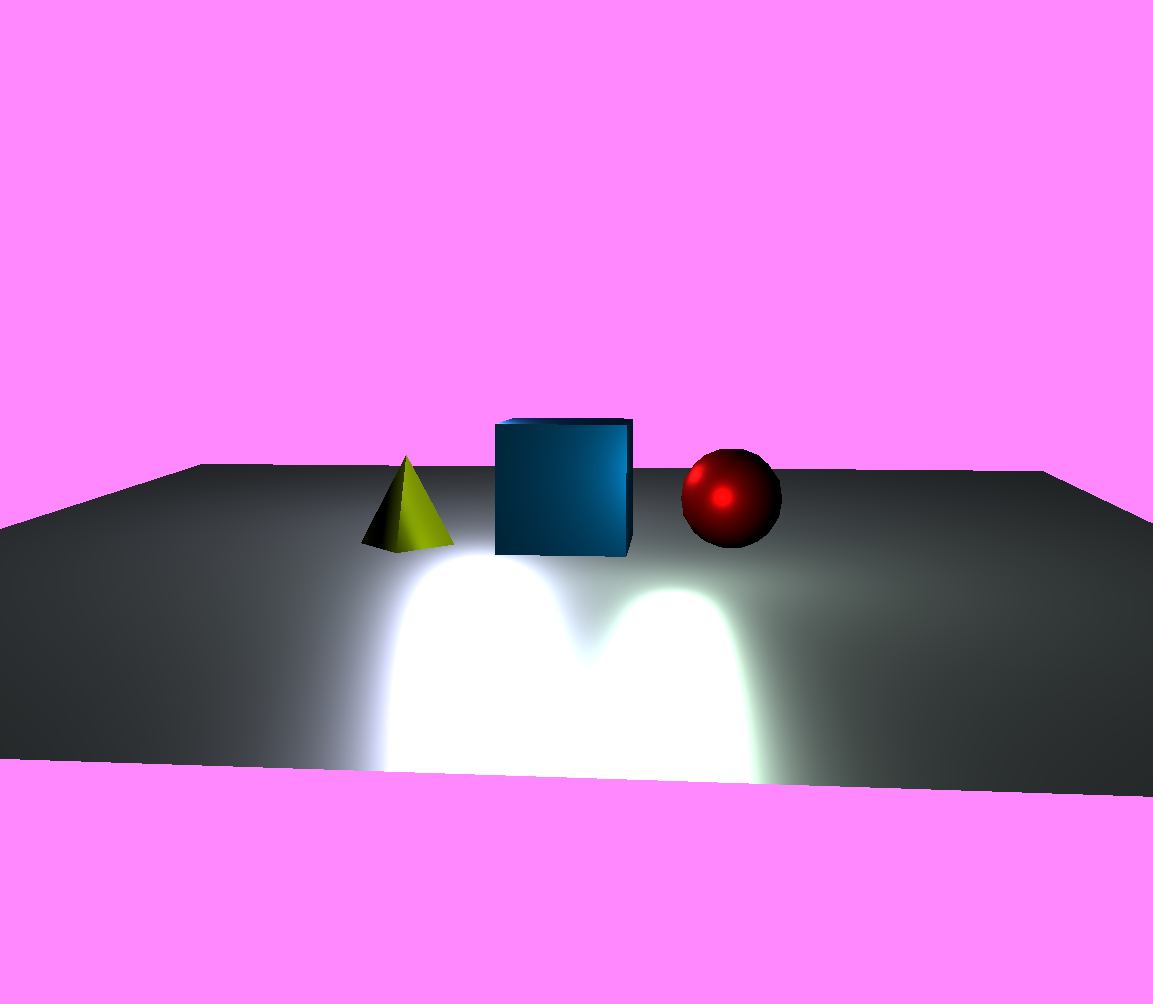
The scene I used while first testing the importer and the player controller.
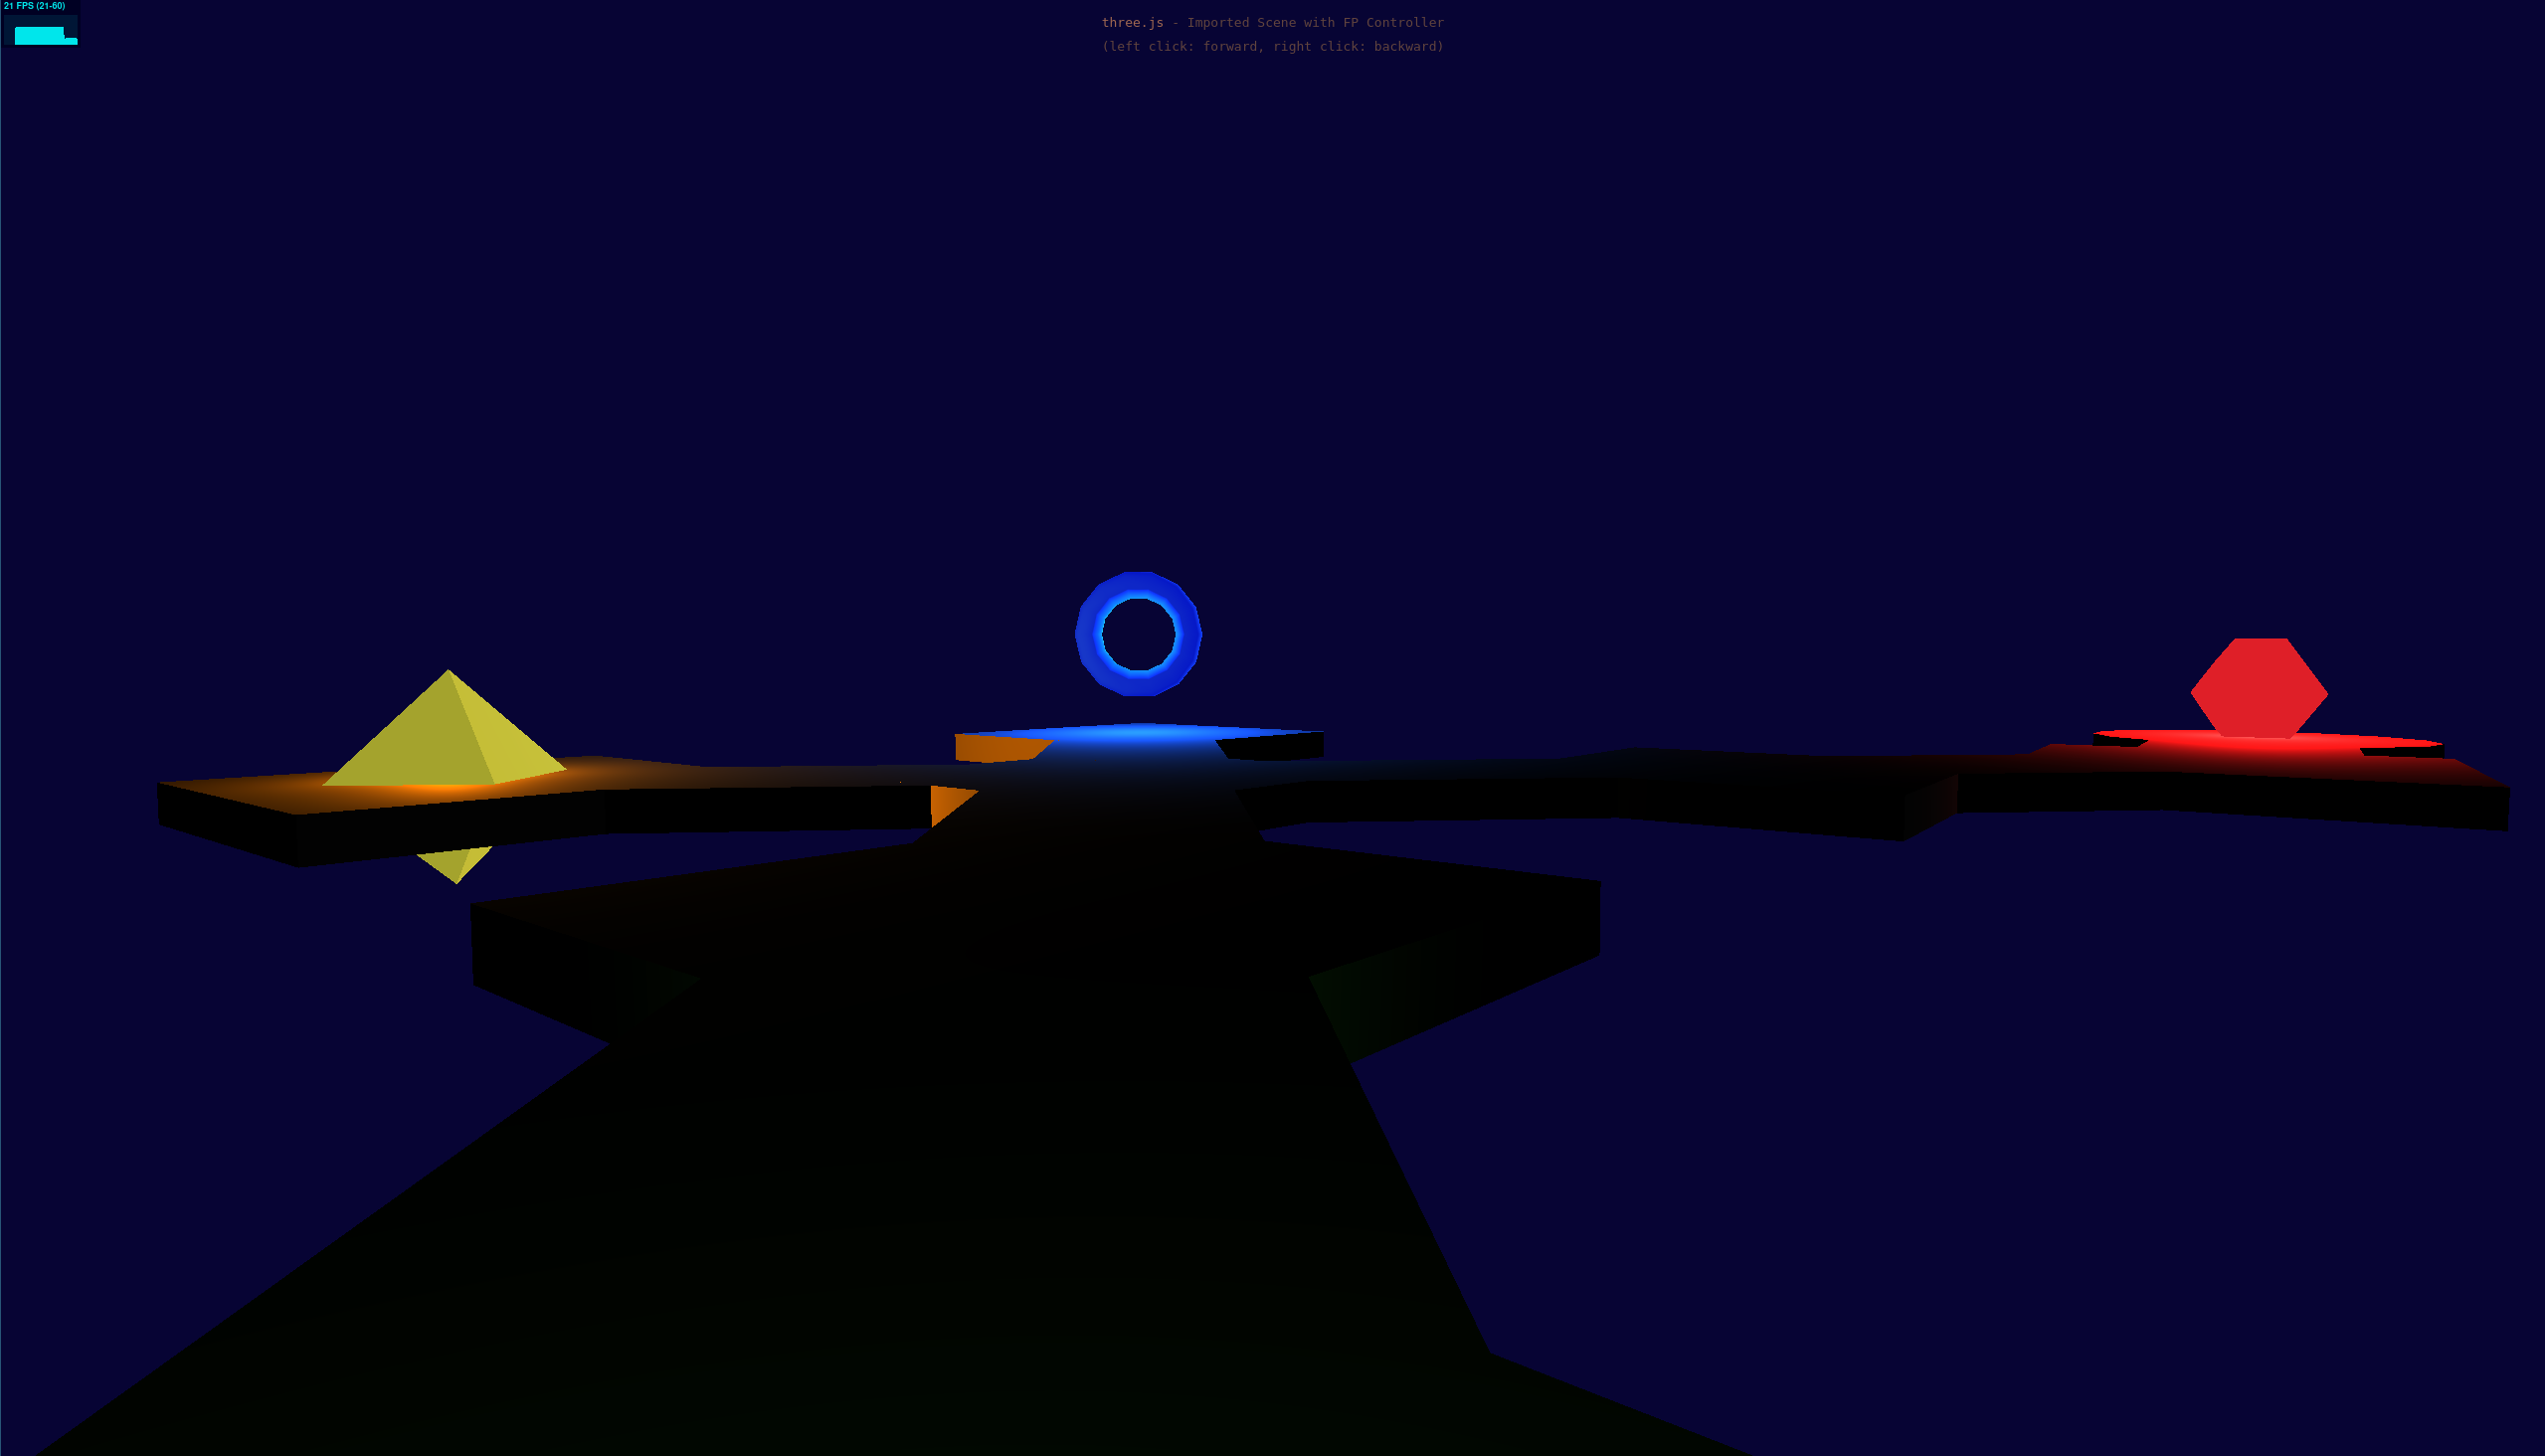
The next iteration. This scene has places the player can walk to. I inadvertently kept the same red, blue, yellow color scheme.
TODO (part one)
TODO (part one)
There will be two skeleton programs. The first one will only have a basic setup. The second one will have the world and some gameplay elements pre-made for people who join only for 2nd part of the workshop.
TODO
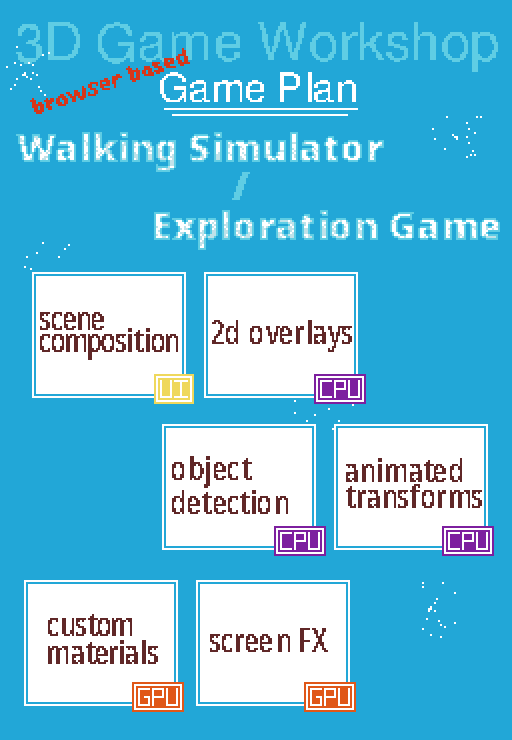
The content I have planned for this workshop is illustrated below. The general type of game I will be preparing everyone to make will be a "Walking Simulator" slash "Exploration" game. This style of game often consists of interesting scenery or an otherwise compelling environment. This style was selected because it can be developed quickly. Walking sims are usually light on actual gameplay elements, but it is possible to make it game-like by placing difficult jumps and hard to reach places.
A moment from a popular walking-simulator, "The Beginner's Guide", that uses exclusively primitive geometry.
Scene Composition. This is a non-programming topic that comes with a lot of mileage. In this section we'll get everyone familiar with a online 3d editor made for Three.js. By the end of this section everyone will know the basic 3D topics related to object placement such as Transformations, Euler Angles, Object Hierarchy, and Object Properties. Some high level art tips may be passed along, such as how to create a room using several rectangular prisms.
A preview of the in-browser editor for THREE.js scenes.
2d Overlays. Exploration games excel at telling stories. While we can use geometry to tell stories (more on that later), we will not be covering any modeling or GLTF2 imports so it will be very helpful to include elements like text to give the game a concrete narrative context. We will briefly go over using canvas graphics API calls to render text over our 3D scene. Extra initiated participants may try rendering other graphics, such as a mini-map or compass.
Object Detection This concept will be our only exploration into actually making the game interactive, excluding the ability to walk around. Here participants will learn about the underlying physics system, and they will set up "trigger fields" which are essentially invisible geometry that initiate custom actions when the player walks within them. One use-case we may encourage would be to show a message when the player reaches a certain spot.
Animated Transforms. This is a simple yet quite rewarding way to animate objects in the scene. By setting parts of the transform to various functions of time, we can achieve effects such as a rotating ceiling fan, sliding doors, working wall clock, etc. This topic also pairs well with object detection.
Custom Materials. Materials describe the color of an object (such as a cube). This topic is much more advanced than it sounds! Materials are basically programs that run on the GPU and they are responsible for all lighting calculations and all 3d perspective calculations. A beginner may learn how to write their first shader which may produce some colorful effects. A seasoned game developer can use this section to develop truly novel game elements.
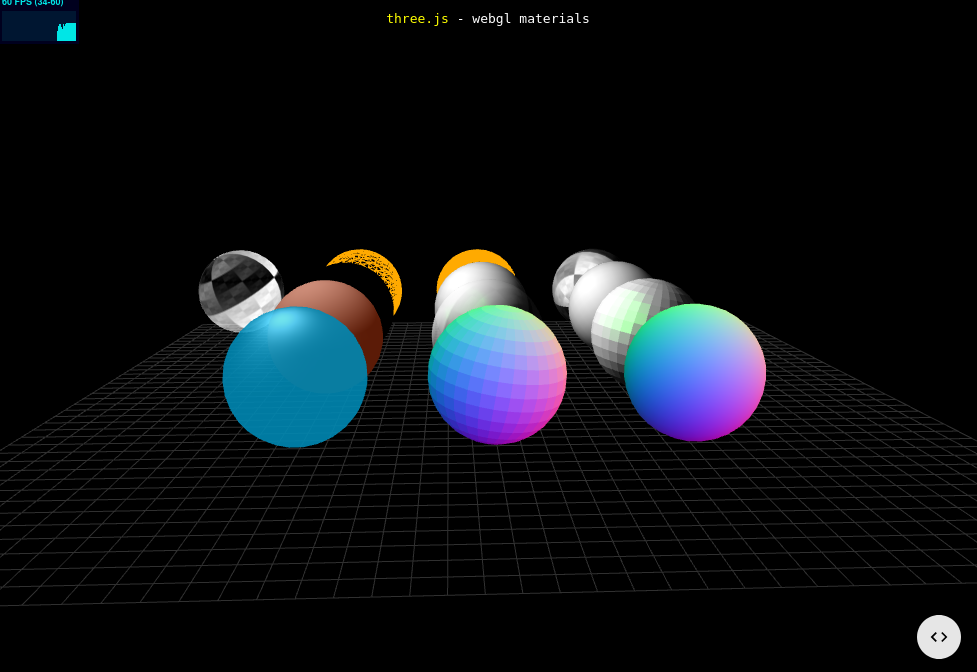
A demo showing various materials. Some of these are animated. Some have special lighting properties.
Screen FX. Here we will use Shaders. A shader is like a material except it is not necessarily tethered to an object. All materials have shader(s), but not all shaders need a material. This concept is like the last in that everyone can do something, but there is quite a high ceiling for creativity and complexity. Screen Effects can be used to make the scene appear grayscale, have a vignette, have bloom style lighting, and so-on.
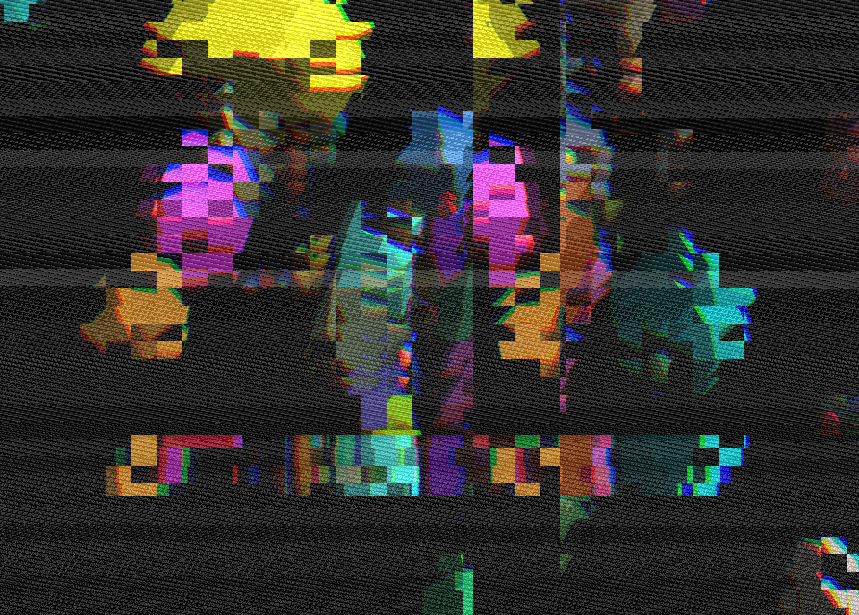
"Glitch" post effect
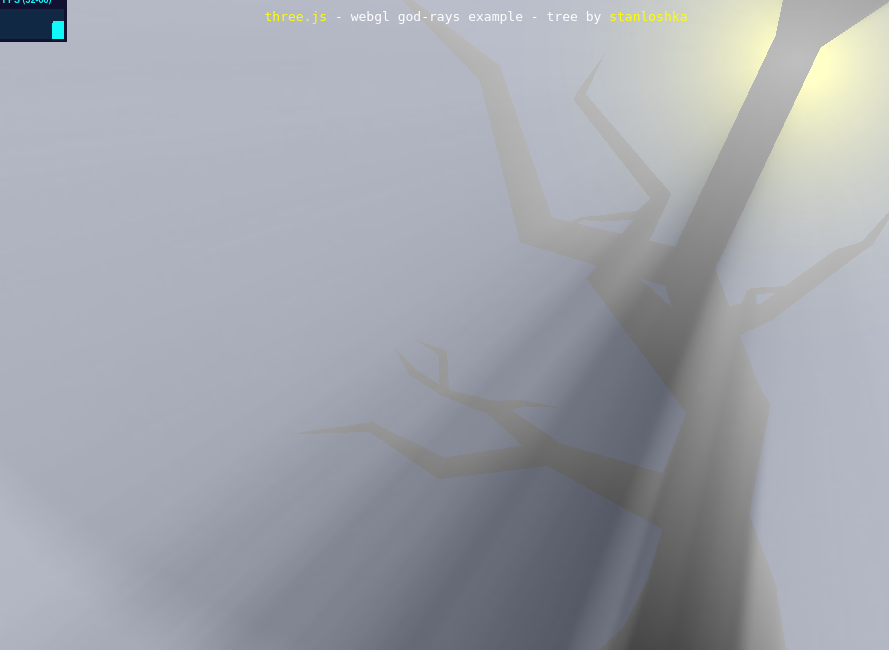
"God Ray" effect
Player movement will be a basic First Person style, as this allows us to focus more on the scene (as both developers and players).